How to Create a Customized Student Attendance Tracker in Notion
How to Create a Customized Student Attendance Tracker in Notion
How to Create a Customized Student Attendance Tracker in Notion

Article by
Milo
ESL Content Coordinator & Educator
ESL Content Coordinator & Educator
All Posts
Tracking student attendance is a daily task for teachers, essential for understanding student whereabouts and identifying attendance patterns. Traditional methods, such as using pen and paper, can be time-consuming and inefficient. In this guide, we'll walk you through creating a customized student attendance tracker using Notion. This tracker simplifies the attendance recording process, helps you observe attendance patterns, and keeps your records organized and accessible.
To download the template created in this guide, click here for the free attendance tracker.
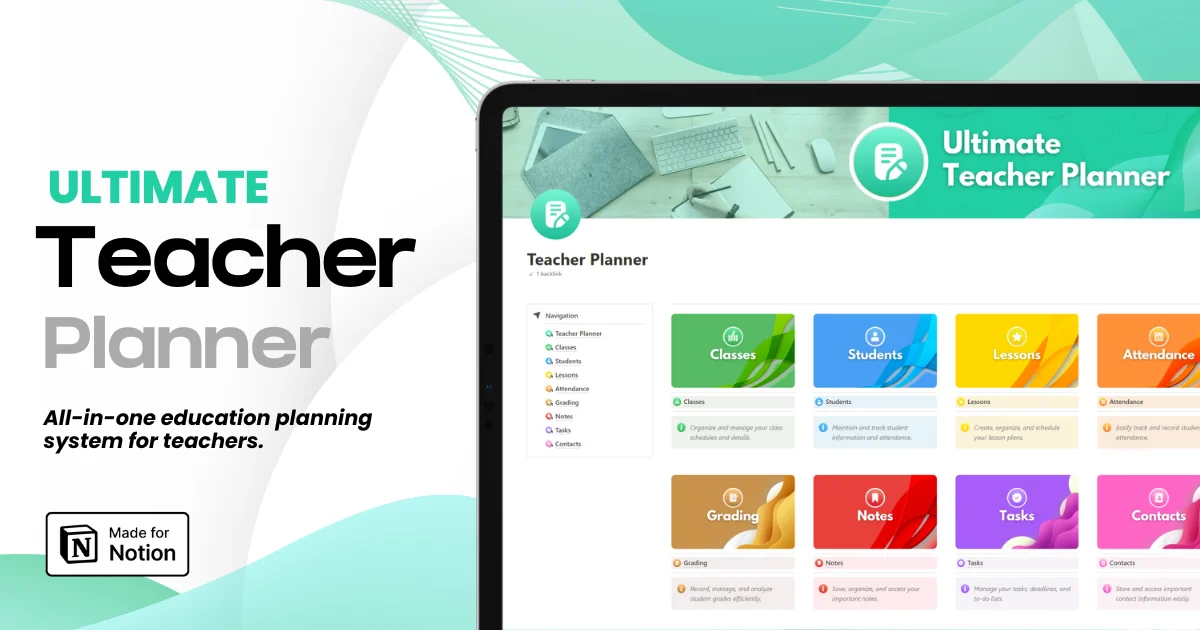
Ultimate Teacher Planner
The ultimate all-in-one education management system in Notion.
Learn More

Ultimate Teacher Planner
The ultimate all-in-one education management system in Notion.
Learn More
Ultimate Teacher Planner
The ultimate all-in-one education management system in Notion.
Learn More
Creating Databases
Step 1: Setting Up the Page
Begin by creating a new page in Notion and title it "Student Tracker." Set the page to full width to utilize more screen space.
Step 2: Creating Inline Databases
Create two inline databases: "Attendance Days" and "Students." Remove unnecessary properties from these databases for simplicity.
Adding Relation Properties
Step 3: Setting Relation Properties
Add three relation properties for each attendance status: present, absent, and late.
Present Students:
Relation: Students
Show on: Students
Property Name: Present Days
Absent Students:
Relation: Students
Show on: Students
Property Name: Absent Days
Late Students:
Relation: Students
Show on: Students
Property Name: Late Days
These properties will connect the "Attendance Days" and "Students" databases, allowing you to tag each student with their attendance status.
Using Relation Properties
Step 4: Demonstrating Relations
Add sample entries to both databases. For instance, add a day (e.g., March 21, 2024) and tag a student (e.g., Milo) as present. Repeat the process for absent and late statuses. This tagging will reflect in the "Students" database, showing attendance for each day.
Adding Rollup Properties
Step 5: Counting Attendance Statuses
Add three rollup properties to count the number of present, absent, and late days for each student.
Present:
Rollup Property: Present Days
Calculation: Count unique values
Absent:
Rollup Property: Absent Days
Calculation: Count unique values
Late:
Rollup Property: Late Days
Calculation: Count unique values
These rollup properties will provide a count of each attendance status for the students.
Calculating Attendance Score
Step 6: Adding a Formula Property
Add a formula property to calculate the overall attendance score.
Attendance:
Formula: (Present + Late) / (Present + Absent + Late)
Display: Percentage with a bar
This formula considers late days as present since the student is still attending class. The percentage will provide a clear overview of each student’s attendance record.
Creating a Day Template
Step 7: Viewing Daily Attendance
Create a template for new attendance days to display all attendance records for that day.
Copy the link to the "Students" database.
In the "Attendance Days" database, create a new template titled "New Day."
Paste the "Students" database link as a linked view and create a list view.
Filter the list by present days to display only present students.
Repeat the process for absent and late students.
Step 8: Cleaning Up
Set the properties to minimal to avoid clutter and ensure ease of use, especially for large classes.
Final Demonstration
Step 9: Using the Tracker
For each new day, add the students and their attendance status. The attendance score will update automatically. You can view the attendance records for any day by clicking on it in the "Attendance Days" database.
Conclusion
Using Notion to track attendance ensures your records are organized and accessible. It also helps you identify and address attendance issues promptly.
To download the template created in this guide, click here for the free attendance tracker.
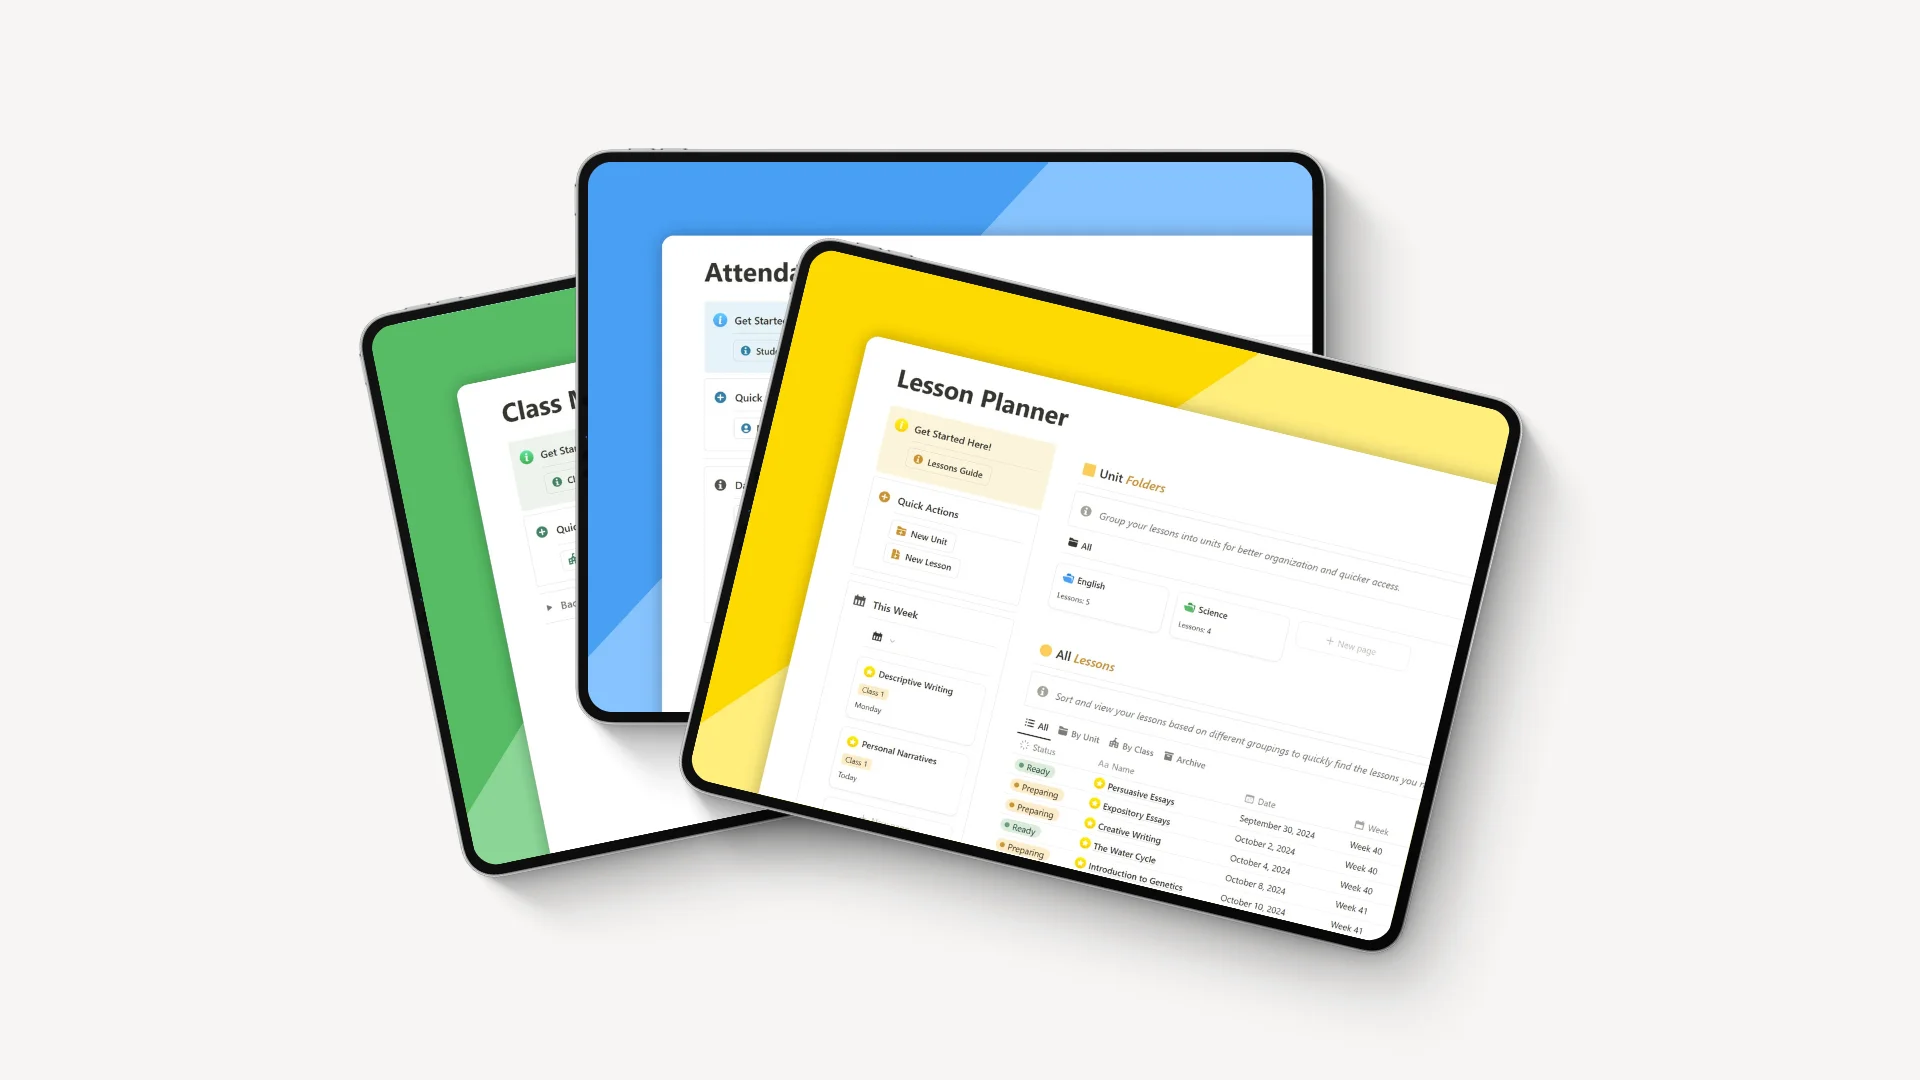
Ultimate Teacher Planner
The ultimate all-in-one education management system in Notion.
Learn More
Ultimate Teacher Planner
The ultimate all-in-one education management system in Notion.
Learn More
Ultimate Teacher Planner
The ultimate all-in-one education management system in Notion.
Learn More


Notion4Teachers
Notion templates to simplify administrative tasks and enhance your teaching experience.

2024 Notion4Teachers. All Rights Reserved.
Notion4Teachers
Notion templates to simplify administrative tasks and enhance your teaching experience.
2024 Notion4Teachers. All Rights Reserved.
Notion4Teachers
Notion templates to simplify administrative tasks and enhance your teaching experience.
2024 Notion4Teachers. All Rights Reserved.
Notion4Teachers
Notion templates to simplify administrative tasks and enhance your teaching experience.
2024 Notion4Teachers. All Rights Reserved.